A Cheery Cherry Cheesecake Recipe: So Easy and Delightful!

This sweet recipe is one from my childhood and is still a favorite. My mother made it for us often. As I remember, she got the recipe from a box of cake mix or from a magazine. This is not your traditional cheesecake recipe that requires a springform pan or anything complicated. It is actually made using cake mix! It is pretty when served and it is so smooth and creamy! If you need a cool and pretty summer dessert that won’t take a lot of time, and you can make ahead, this one is for you! It is perfect for cookouts, potlucks, church meals, or family get-togethers. It’s a crowd pleaser!
Ingredients for Cheery Cherry Cheesecake

- 1 box of yellow cake mix
- 4 eggs
- 2 tablespoons vegetable oil
- 2 8 ounce packages cream cheese (light cream cheese is fine if you like) (let soften)
- 1/2 cup sugar
- 1 1/2 cup milk
- 2 tablespoons lemon juice
- Optional: 1 teaspoon of vanilla
- 1 21 oz. can cherry pie filling (You can use other fruit fillings if you prefer.)
You will need a 9 X 13 pan, a mixing bowl, mixer, an additional bowl and measuring cups/spoons.
Handy Tips

- Be sure to let the cream cheese soften well. If it’s not softened enough you’ll have a lumpy cheesecake. Let it sit out for at least an hour. There are tips online for softening it in a microwave but I like to soften mine on the counter.
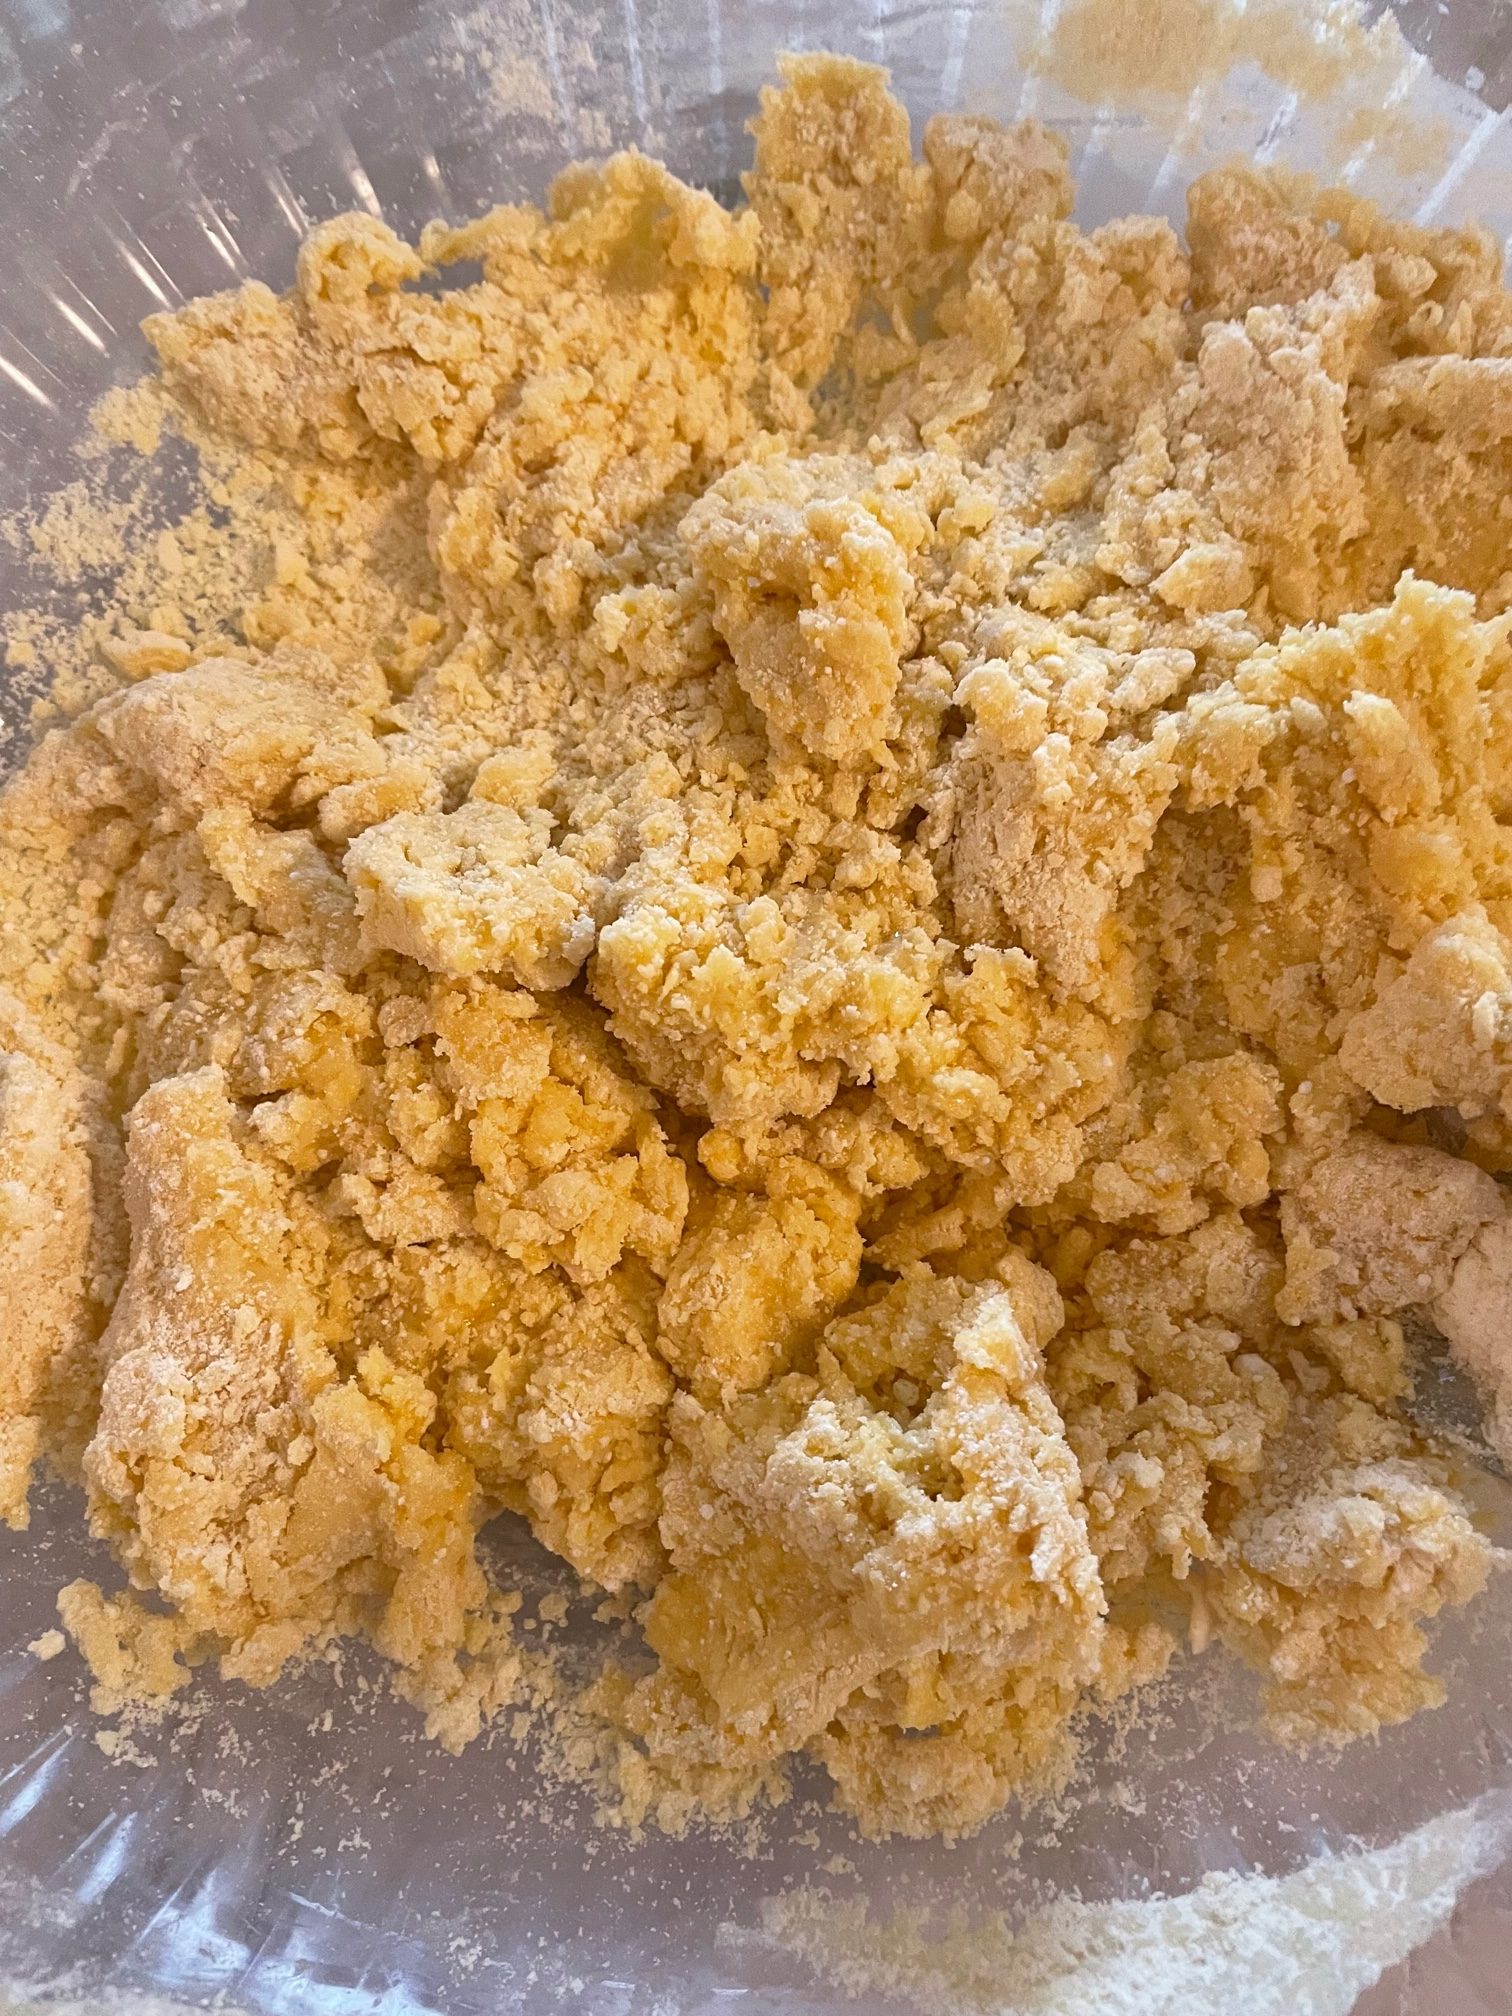
- When you make the crust be sure to smooth it out well and a bit up the sides of your pan. It will not be very thick but that is okay.
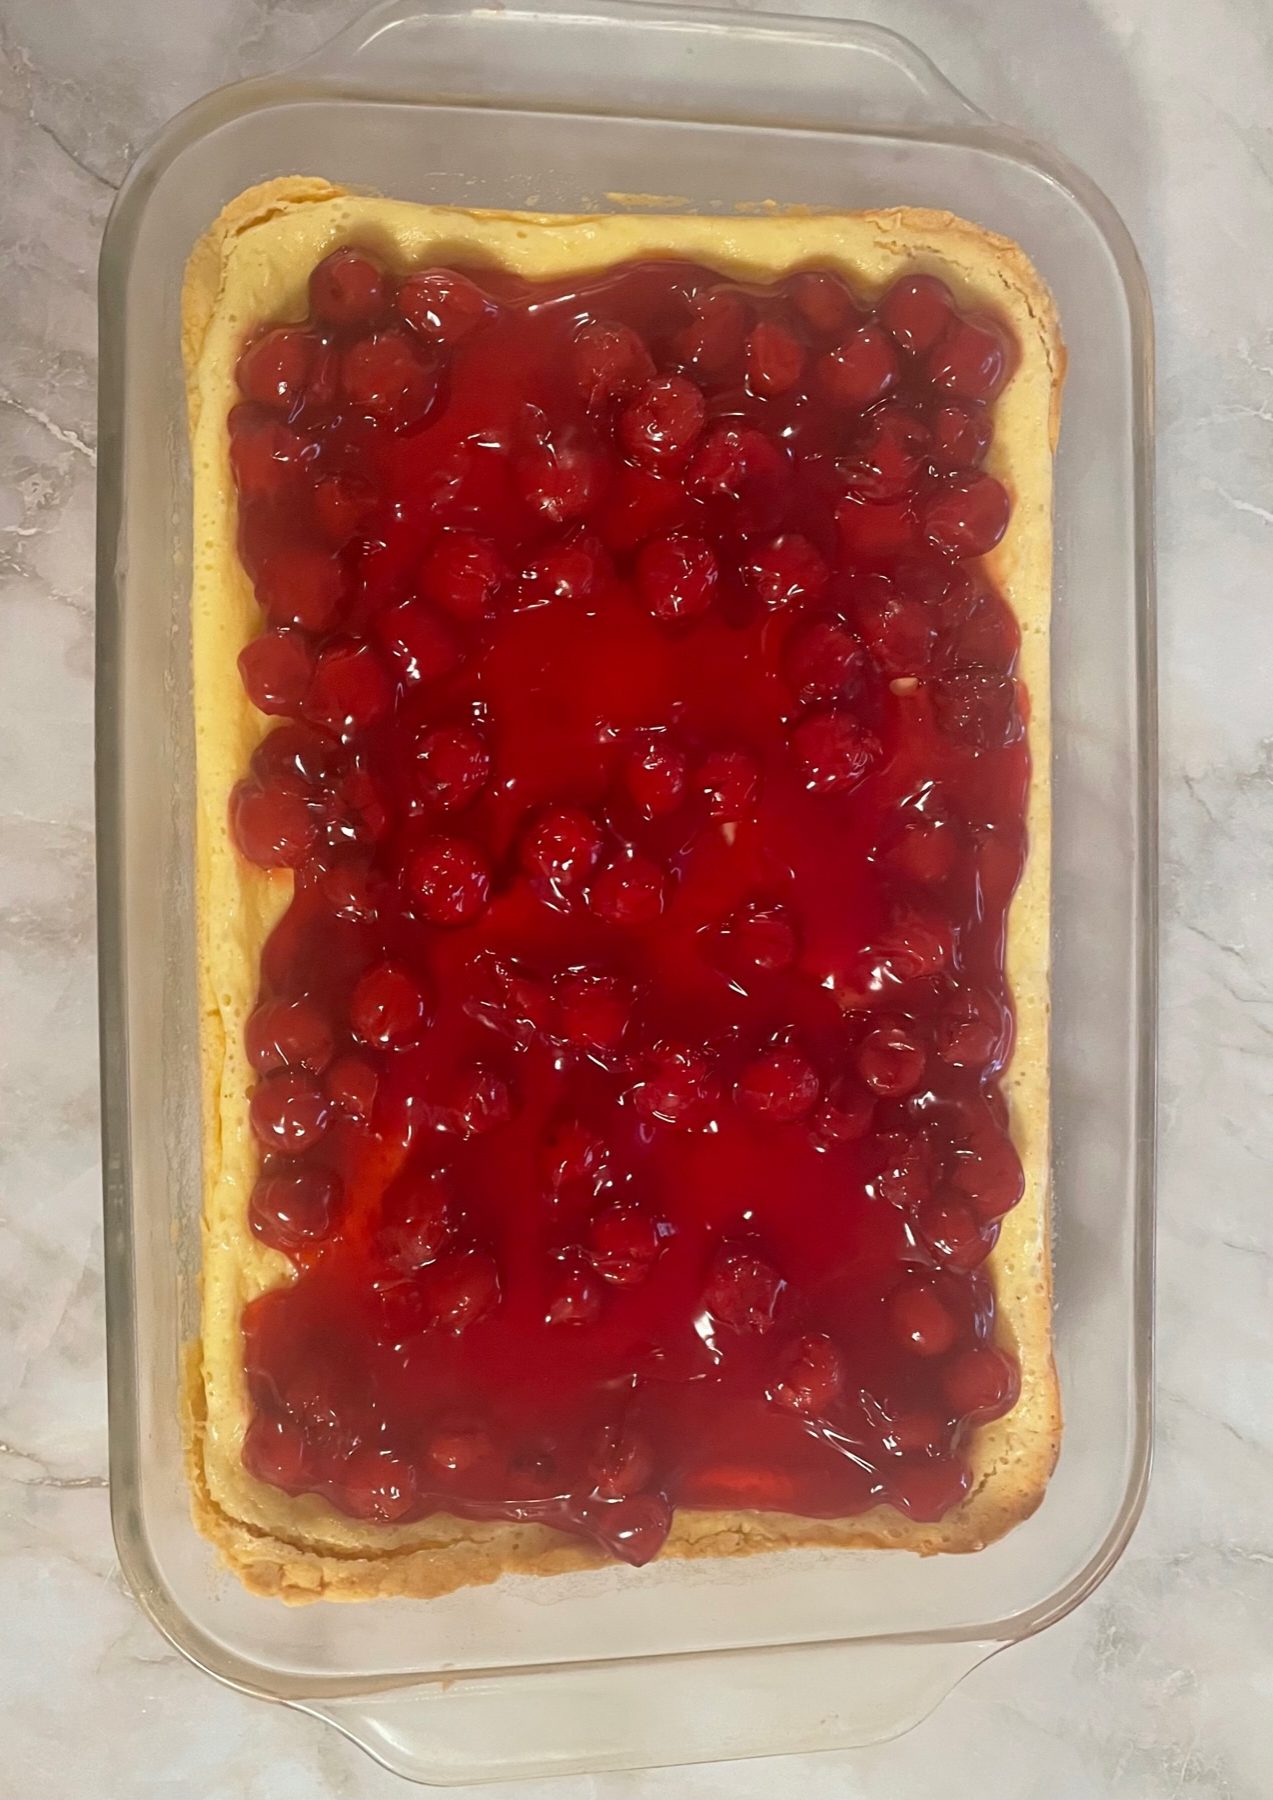
- Be sure to cool the cheesecake well before adding the topping. It needs the time to set.
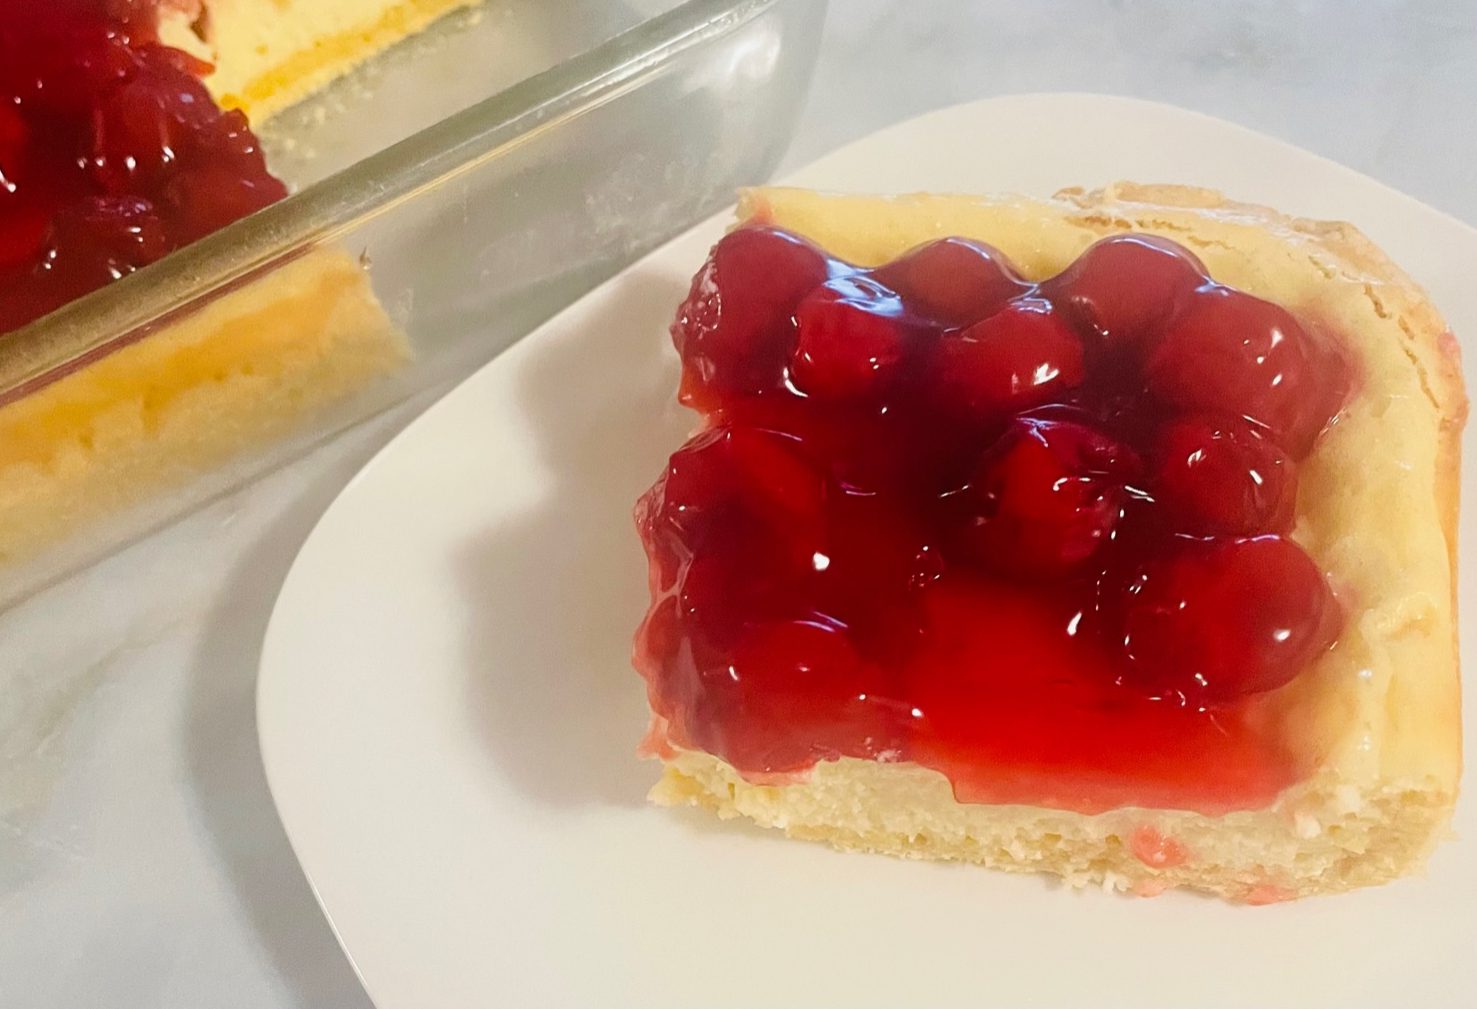
- You can put your filling over the entire cake when ready to serve or you can cut it into squares and then add the filling.
- If you like a lot of fruit filling on your cheesecake, buy two cans of pie filling. I like mine with just one can but having an extra on hand for those who might like to add more might be a good idea.
Cheery Cherry Cheesecake
Ingredients
- 1 box yellow cake mix
- 4 eggs
- 2 tbsp vegetable oil
- 2 8 oz cream cheese (light or regular) softened
- 1/2 cup sugar
- 1 1/2 cup milk
- 2 tbsp lemon juice
- 1 tsp vanilla (Optional)
- 1 21 oz can cherry pie filling
Instructions
- Preheat oven to 300 degrees.
- Spray 9 X 13 pan with nonstick cooking spray and set aside.
- Measure out and save 1 cup of cake mix. Set aside.
- In a large mixing bowl, put in remaining cake mix (NOT the 1 cup saved), one egg, and the vegetable oil. Stir together until moist and crumbly.
- Press this crumbly mixture into the prepared 9 X 13 pan evenly over the bottom and about 1/2 to 3/4 up the sides of the pan.
- In same mixing bowl, beat together the cream cheese and sugar until fluffy. Add the remaining 3 eggs one at a time and continue to mix. Add the reserved 1 cup of cake mix to the mixture and beat for 1 minute.
- Now, slowly add the milk, lemon juice, and vanilla if using, to the cream cheese mixture and mix until smooth.
- Pour into the prepared crust. Bake at 300 degrees for 45 - 55 minutes. Watch it toward the end to not overcook, just until set. My oven takes 50 minutes.
- Allow the cheesecake to cool, then refrigerate for at least one hour before serving.
- You can spread the pie filling over the cheesecake before refrigerating or you can spread it on right before serving. Cut into squares to serve. I have seen it spooned out to serve as well.
- Enjoy!
Looking for more great dessets? Check these out!
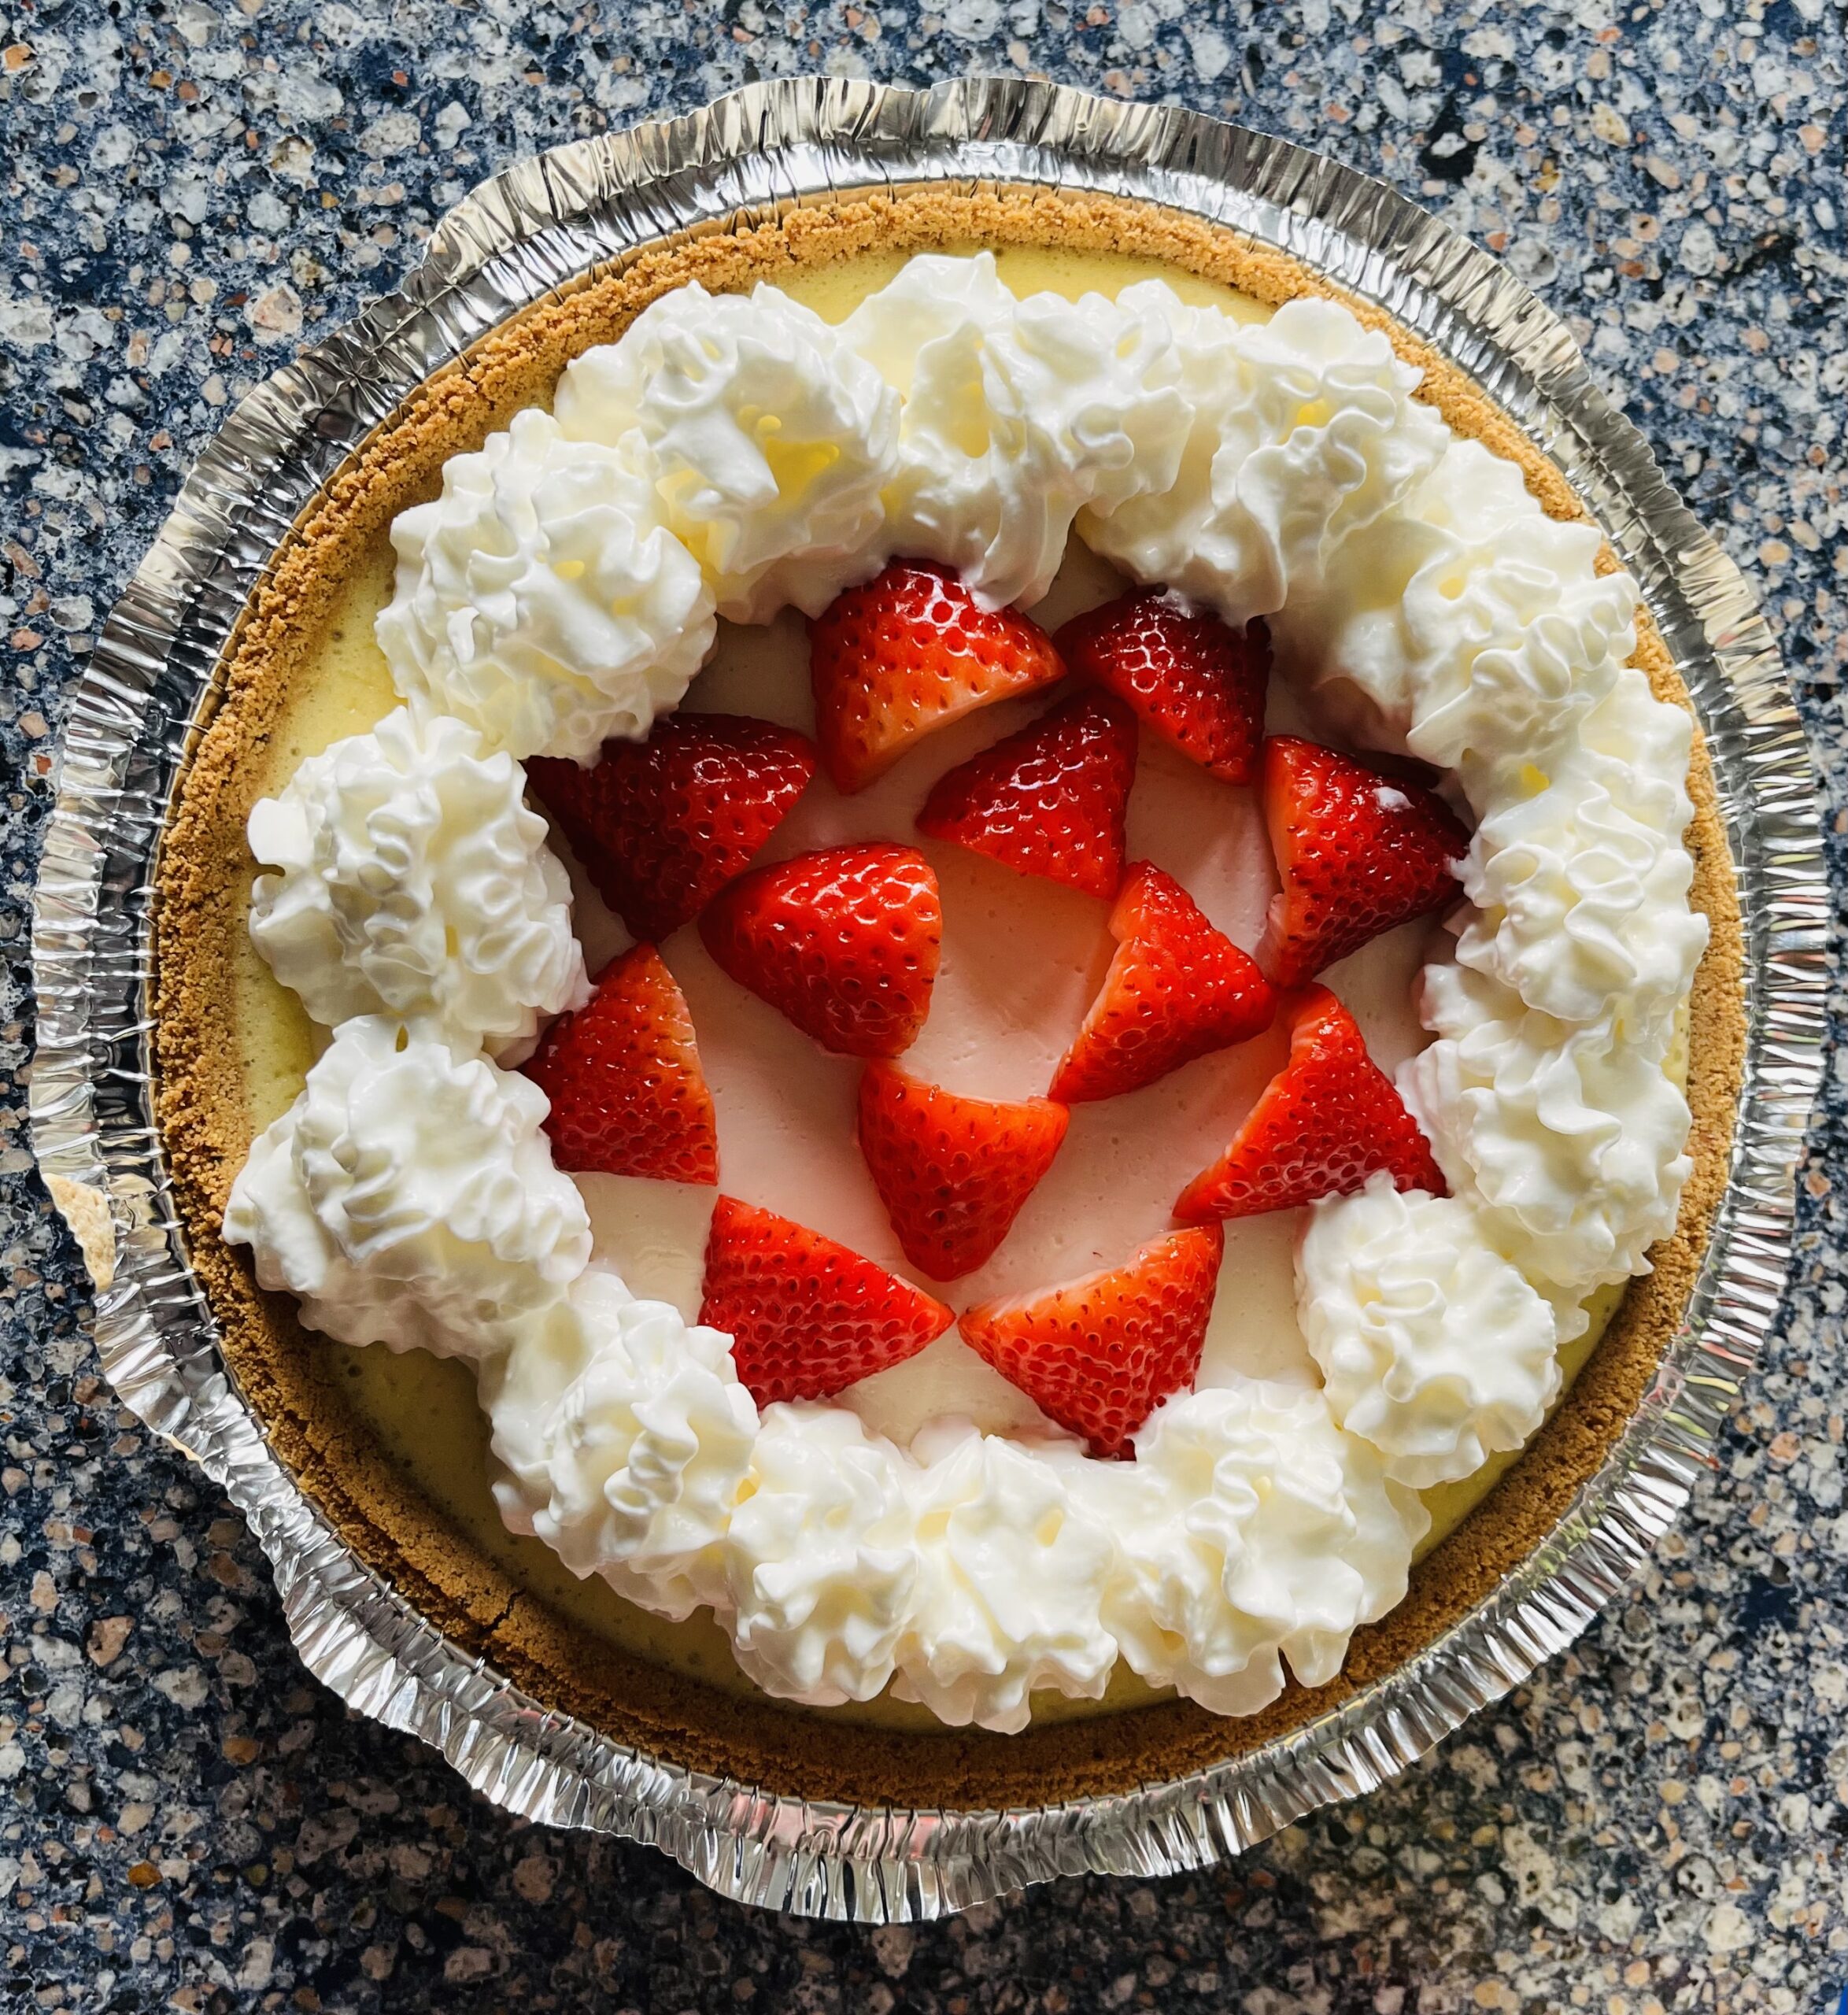
Try Kristin’s Cheesecake Made Easy. This is another great way to make an easy cheesecake in a pie crust.

Do you love brownies? Try this Best Brownie Pie in the World!
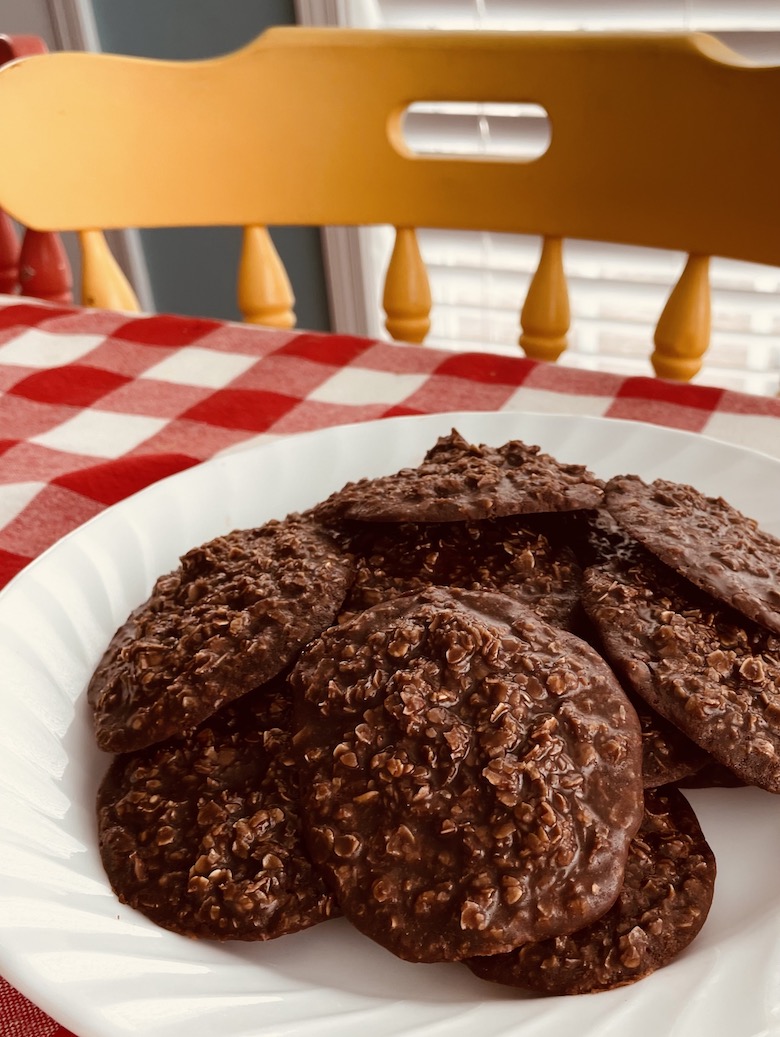
Want some easy and yummy cookies? Try these Chocolate Oatmeal No Bake Cookies!
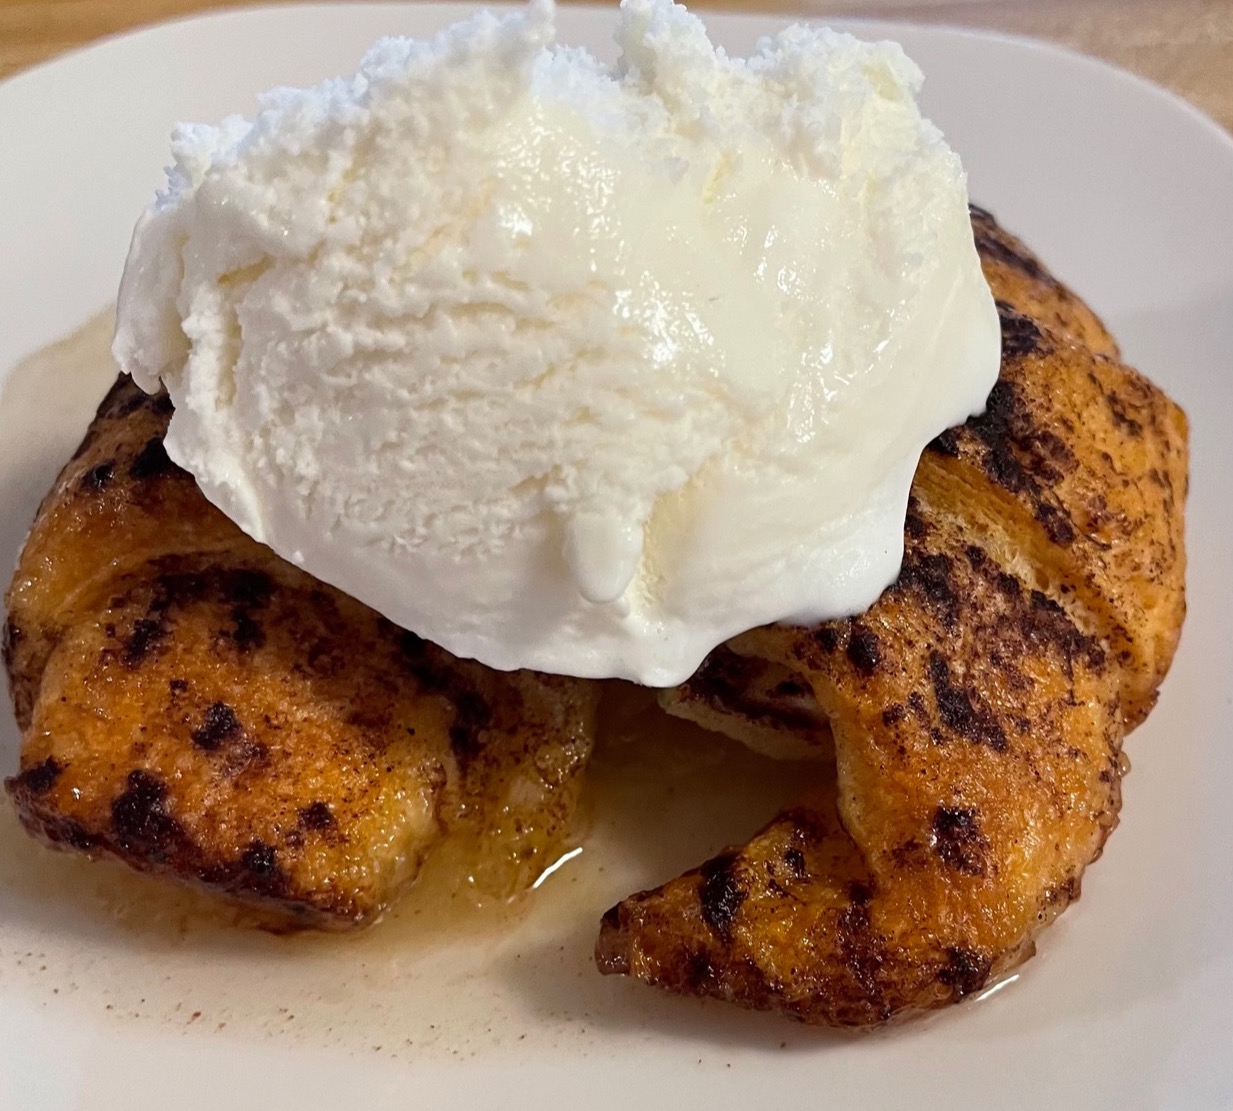
For the fall and apple season, try out these Two Deliciously Easy Apple Recipes!
Note: The links included are affiliate links. That means, if you purchase something through the link, What A Good Day will receive a small commission at no extra cost to you. The opinions are my own. We appreciate your support!
Note: Content of this post is from Karen @whatagoodday.com. All images and content are copyright protected. Please do not use my images without prior permission. I’m happy for you to share this post but be sure to link to this post. Thank you.



This recipe looks delicious. With family reunions on the calendar, this may be my new dessert to take.
It’s a good one for a gathering and so pretty!